Repair Service Website Creation: A Checklist Before Your First Page
Organize your services, contact details, work photos, and any payment or shipping setup first. No coding is needed to begin, but you still need to verify the content and operating details.
Decide first: Whose repairs do you take on?
Before starting repair service website creation, describe your customers, service scope, and service area in one sentence. Choose your main repair category—such as appliances, bicycles, or home fixtures—and clarify whether you offer on-site visits, drop-off repairs, or both. Deciding your available hours, booking process, and the information needed to estimate a job will make your homepage and inquiry instructions more useful.
A checklist of materials to gather
- Business name, phone number, email, opening hours, and address or service area
- Repair services offered, work you do not accept, and how customers can ask questions or book
- Real photos of your work with descriptions. Check that they do not reveal customer details or addresses
- Verified wording for FAQs, inspection and repair steps, and any warranty or cost information
- If you plan to sell products: product names, prices, inventory and shipping details, and payment method
- Brand materials already available, such as a logo or a domain you own
If you do not have everything yet, start with a page that explains your core services and how to contact you. Do not fill gaps with invented reviews, photos of work you have not completed, or unverified warranty claims.
Choose a tool and consider an example
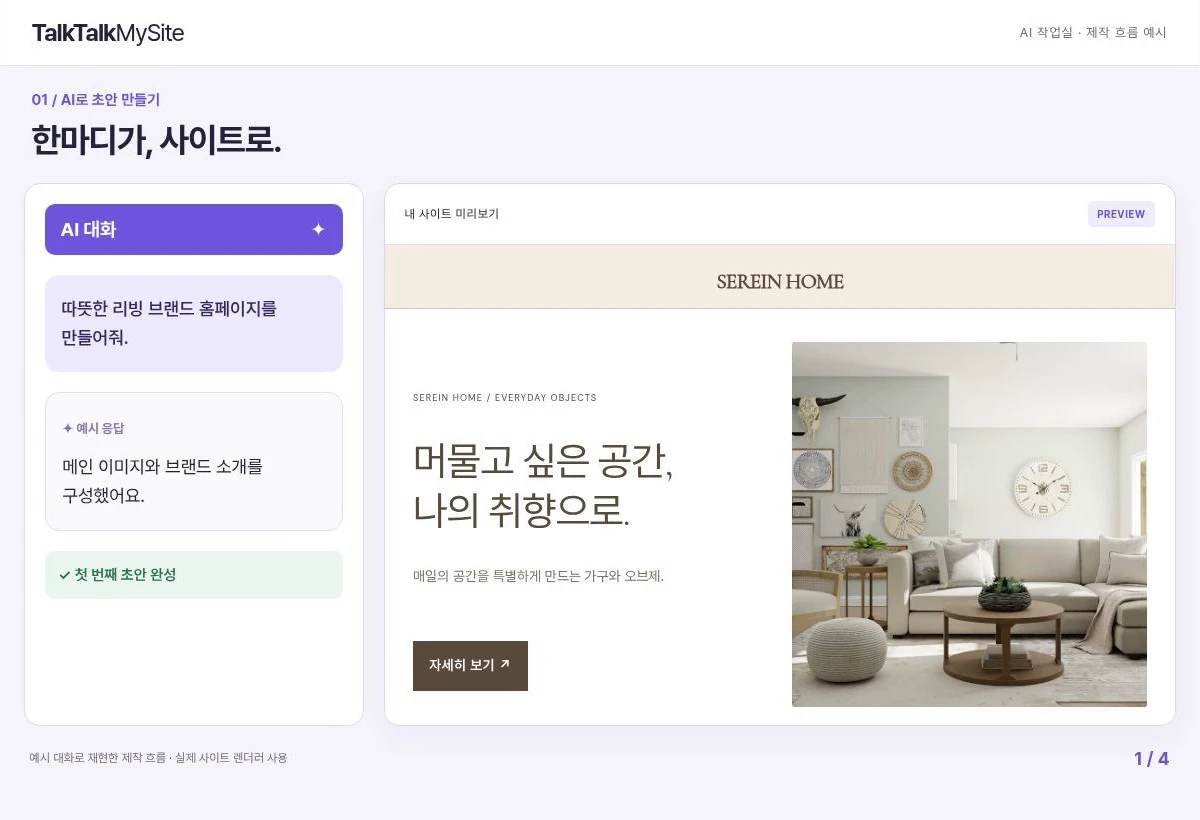
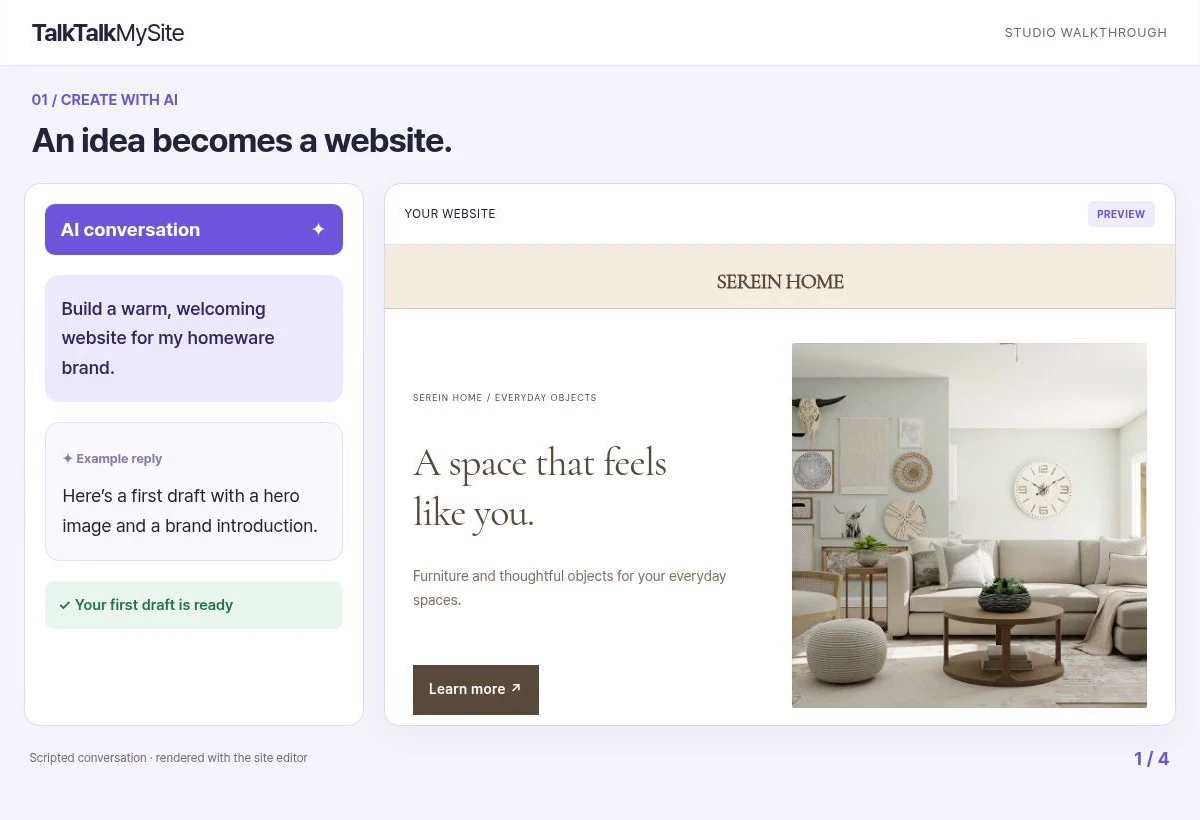
TalkTalkMySite offers no-code templates, AI chat, and visual editing, making it practical to prepare a first page without coding or design experience. Use a template to establish the basic layout, then describe your repair specialty and customers in AI chat to request draft wording. Review it yourself to make sure it accurately describes your real services.
**Hypothetical example — a neighborhood bicycle repair shop:** Put repair services, the areas where you travel for on-site work, a booking phone number, and genuine repair photos on the homepage. If you do not need online product sales yet, begin with a website. When you decide to sell parts, prepare product details and add the store setup. Create the first page using the photos and descriptions you already have.
Check before publishing, then take the next step
- Check that the heading, phone number, and booking instructions are easy to find on a phone
- Confirm that service details, areas, hours, and photo captions are accurate
- Set up and test any required features, such as inquiry forms, payments, or social login
- Check domain connection, plan terms, AI credits, and any additional setup requirements
- If selling online, configure and test the payment and shipping process too
The Basic plan corresponds to a website, Standard to a store, and Premium to a multilingual setup. Compare what you need with the setup involved. Payments, social login, domains, and shipping may require separate configuration. Templates and owner editing can help reduce the costs of custom builds and routine updates, but they do not guarantee savings, search rankings, or sales. Do not assume use is unlimited or that mistakes are impossible; review everything before publishing. Next, complete the materials checklist and try the TalkTalkMySite AI workspace to build your first page.
#RepairService #RepairServiceWebsiteCreation #RepairServiceNoCode #RepairServiceTemplates #RepairServiceDesign #RepairServiceOnlinePresence #WebsiteCreation #NoCodeWebsite #AIWebsiteBuilder #WebsiteTemplates #WebsitePlanning #WebsiteManagement #NoCode #NoCodeBuilder #BuildWithoutCoding #DesignForBeginners #AIAssistedDesign #TemplateCustomization #ResponsiveDesign #MobileFriendly #ContentPlanning #BrandIntroduction #PageStructure #UserExperience #VisualEditing #WebsiteImages #LaunchPreparation #BeginnersGuide #MaintenanceChecklist #OnlineBusiness